Sweet Creations: How to Use Cookie Cutters Like a Pro
Cookie cutters are magical tools that can turn ordinary dough into delightful shapes and designs, making baking an even more enjoyable experience. Whether you're a seasoned baker or just starting out, mastering the art of using cookie cutters opens up a world of creative possibilities. In this guide, we'll walk you through everything you need to know to use cookie cutters like a pro and create beautiful, delicious treats that will impress everyone.
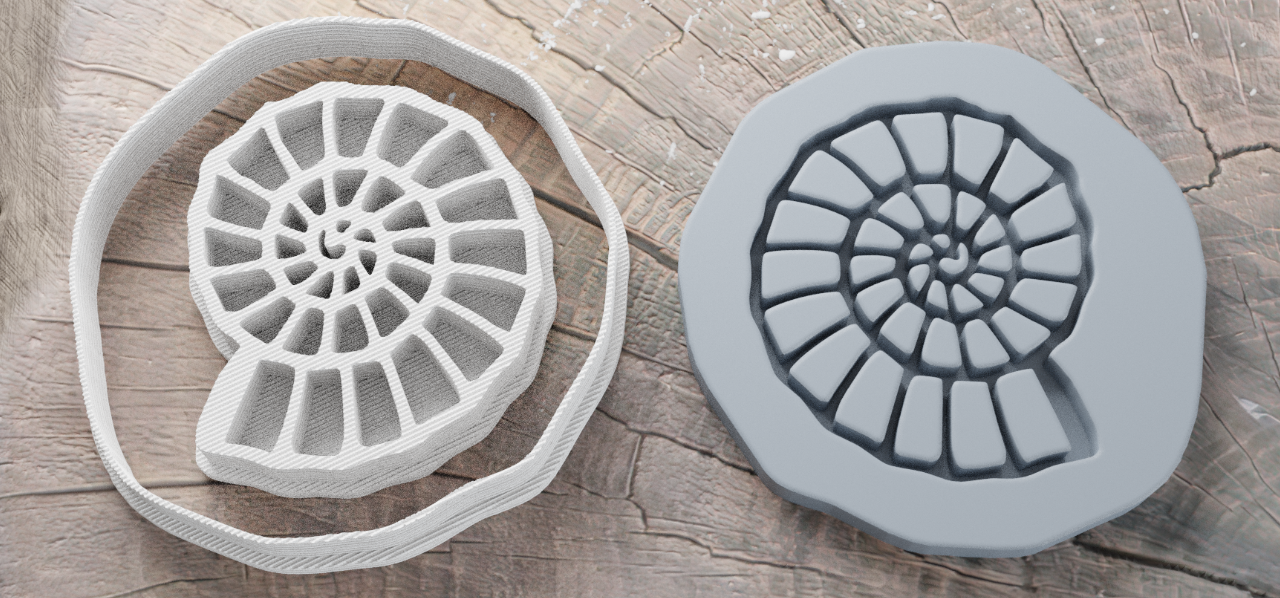
Step 1: Choose the Right Cookie Cutter The first step in using cookie cutters effectively is selecting the right one for your baking project. Cookie cutters come in a variety of shapes, sizes, and materials, so consider the following factors:
• Shape: Determine the shape you want your cookies to be. From classic circles and squares to intricate animals and characters, there's a cookie cutter for every occasion.
• Size: Consider the size of your cookies and choose a cutter that matches your desired dimensions. Keep in mind that larger cutters will yield fewer cookies per batch, while smaller cutters are ideal for bite-sized treats.
• Material: Cookie cutters are commonly made from metal, plastic, or silicone. Metal cutters are durable and great for cutting through thick dough, while plastic and silicone cutters are flexible and easy to clean.
Step 2: Prepare Your Dough Once you've chosen your cookie cutter, it's time to prepare your dough. Whether you're making sugar cookies, gingerbread cookies, or any other type of dough, roll it out on a lightly floured surface to your desired thickness. Aim for a thickness of about ¼ to ⅜ inch for perfectly shaped cookies.
Step 3: Cut Out Your Shapes Place your cookie cutter firmly onto the rolled-out dough and press down firmly and evenly. If the dough sticks to the cutter, lightly dust it with flour to prevent sticking. For intricate designs, gently wiggle the cutter back and forth to ensure clean edges.
Step 4: Remove Excess Dough After cutting out your shapes, carefully lift away the excess dough from around the edges of the cutter. You can use a small spatula or your fingers to help release the dough if necessary. Gather the excess dough into a ball, re-roll it, and continue cutting out shapes until all the dough is used.
Step 5: Transfer to Baking Sheet Using a spatula or your hands, carefully transfer the cut-out shapes to a parchment-lined baking sheet, leaving a small amount of space between each cookie to allow for spreading during baking.
Step 6: Bake and Decorate Bake your cookies according to your recipe's instructions, keeping a close eye on them to prevent over-browning. Once baked and cooled, unleash your creativity by decorating your cookies with icing, sprinkles, or other decorative elements.
Step 7: Enjoy Your Masterpieces Once your cookies are decorated and ready to go, it's time to indulge in your sweet creations. Whether you're enjoying them yourself or sharing them with friends and family, take pride in knowing that you've mastered the art of using cookie cutters to create delicious treats that are as beautiful as they are tasty.
Conclusion: Using cookie cutters is a simple yet effective way to add charm and personality to your baked goods. By following these steps and unleashing your creativity, you can create cookies that are not only delicious but also visually stunning. So go ahead, dust off those cookie cutters and get ready to embark on a sweet baking adventure!